Mastering Sunrise Photography: Proven Techniques for Stunning Morning Sunrise Shots

In the hushed moments before daybreak, when the world is still draped in twilight’s embrace, a symphony of colors begins to paint the sky. This is the canvas of sunrise photography, where the fusion of art and nature intertwines in a dance of light and shadow.
If you’re drawn to capturing the breathtaking allure of morning sunrise shots, you’ve embarked on a journey that transcends the ordinary and embraces the extraordinary. Join us as we unravel the secrets to mastering sunrise photography, a skill that demands patience, precision, and an unquenchable thirst for the ethereal beauty that each dawn brings.
In this guide, we’ll explore the techniques that transform mere photographs into tales of the sun’s awakening, where golden hour hues and tranquil silhouettes converge in a visual symphony. Let the journey begin—a voyage into the heart of dawn, where cameras capture not just light, but the very essence of a new day.
Scout Your Location in Advance
Choosing the right location for your sunrise photography is crucial to capturing stunning shots. Scouting your location in advance allows you to plan your composition, take into account potential obstacles, and understand the interaction between the landscape and the rising sun. Here’s how to do it effectively:
- Research and Familiarization: Use online resources, photography forums, and apps to find potential sunrise photography locations. Study photos taken by others to get an idea of the possibilities.
- Visit During Daytime: Before your actual shoot, visit the location during the day. This helps you identify interesting foreground elements, potential viewpoints, and the overall vibe of the place.
- Consider Safety: Ensure that the location is safe and accessible during the early morning hours. Be mindful of any natural hazards and plan accordingly.
- Plan for Composition: Think about the composition you want to achieve. Identify elements like rocks, trees, water bodies, or buildings that can add depth and interest to your shots.
Arrive Early
The early bird gets the best sunrise shots. Arriving well before the sun starts to rise gives you ample time to set up your equipment, compose your shots, and capture the magic of the pre-dawn light.
- Pre-Dawn Colors: The pre-dawn period offers unique colors that gradually transition from dark blues to soft purples and pinks. Capturing this transition can result in some stunning images.
- Set Up in Peace: Arriving early ensures that you can find a suitable spot without feeling rushed. You can also avoid the frustration of missing a shot due to last-minute setup issues.
- Golden Hour: The golden hour, which occurs shortly before sunrise, provides a warm and soft quality of light that’s ideal for photography. Being there early allows you to make the most of this beautiful light.
Check Weather and Sun Position
The success of sunrise photography is heavily dependent on the weather and the sun’s position. Staying informed about these factors helps you plan your shoot effectively.
- Weather Apps: Use weather forecasting apps to stay updated on cloud cover, wind conditions, and potential rain. Overcast skies can create diffused light that’s great for softer images.
- Sunrise Time: Determine the exact time of sunrise for your location. Apps and websites offer accurate information. Arriving too late might result in missing the most dramatic moments.
- Sun Angle: Know where the sun will rise in relation to your chosen location. This helps you set up your composition and anticipate where the best light will fall.
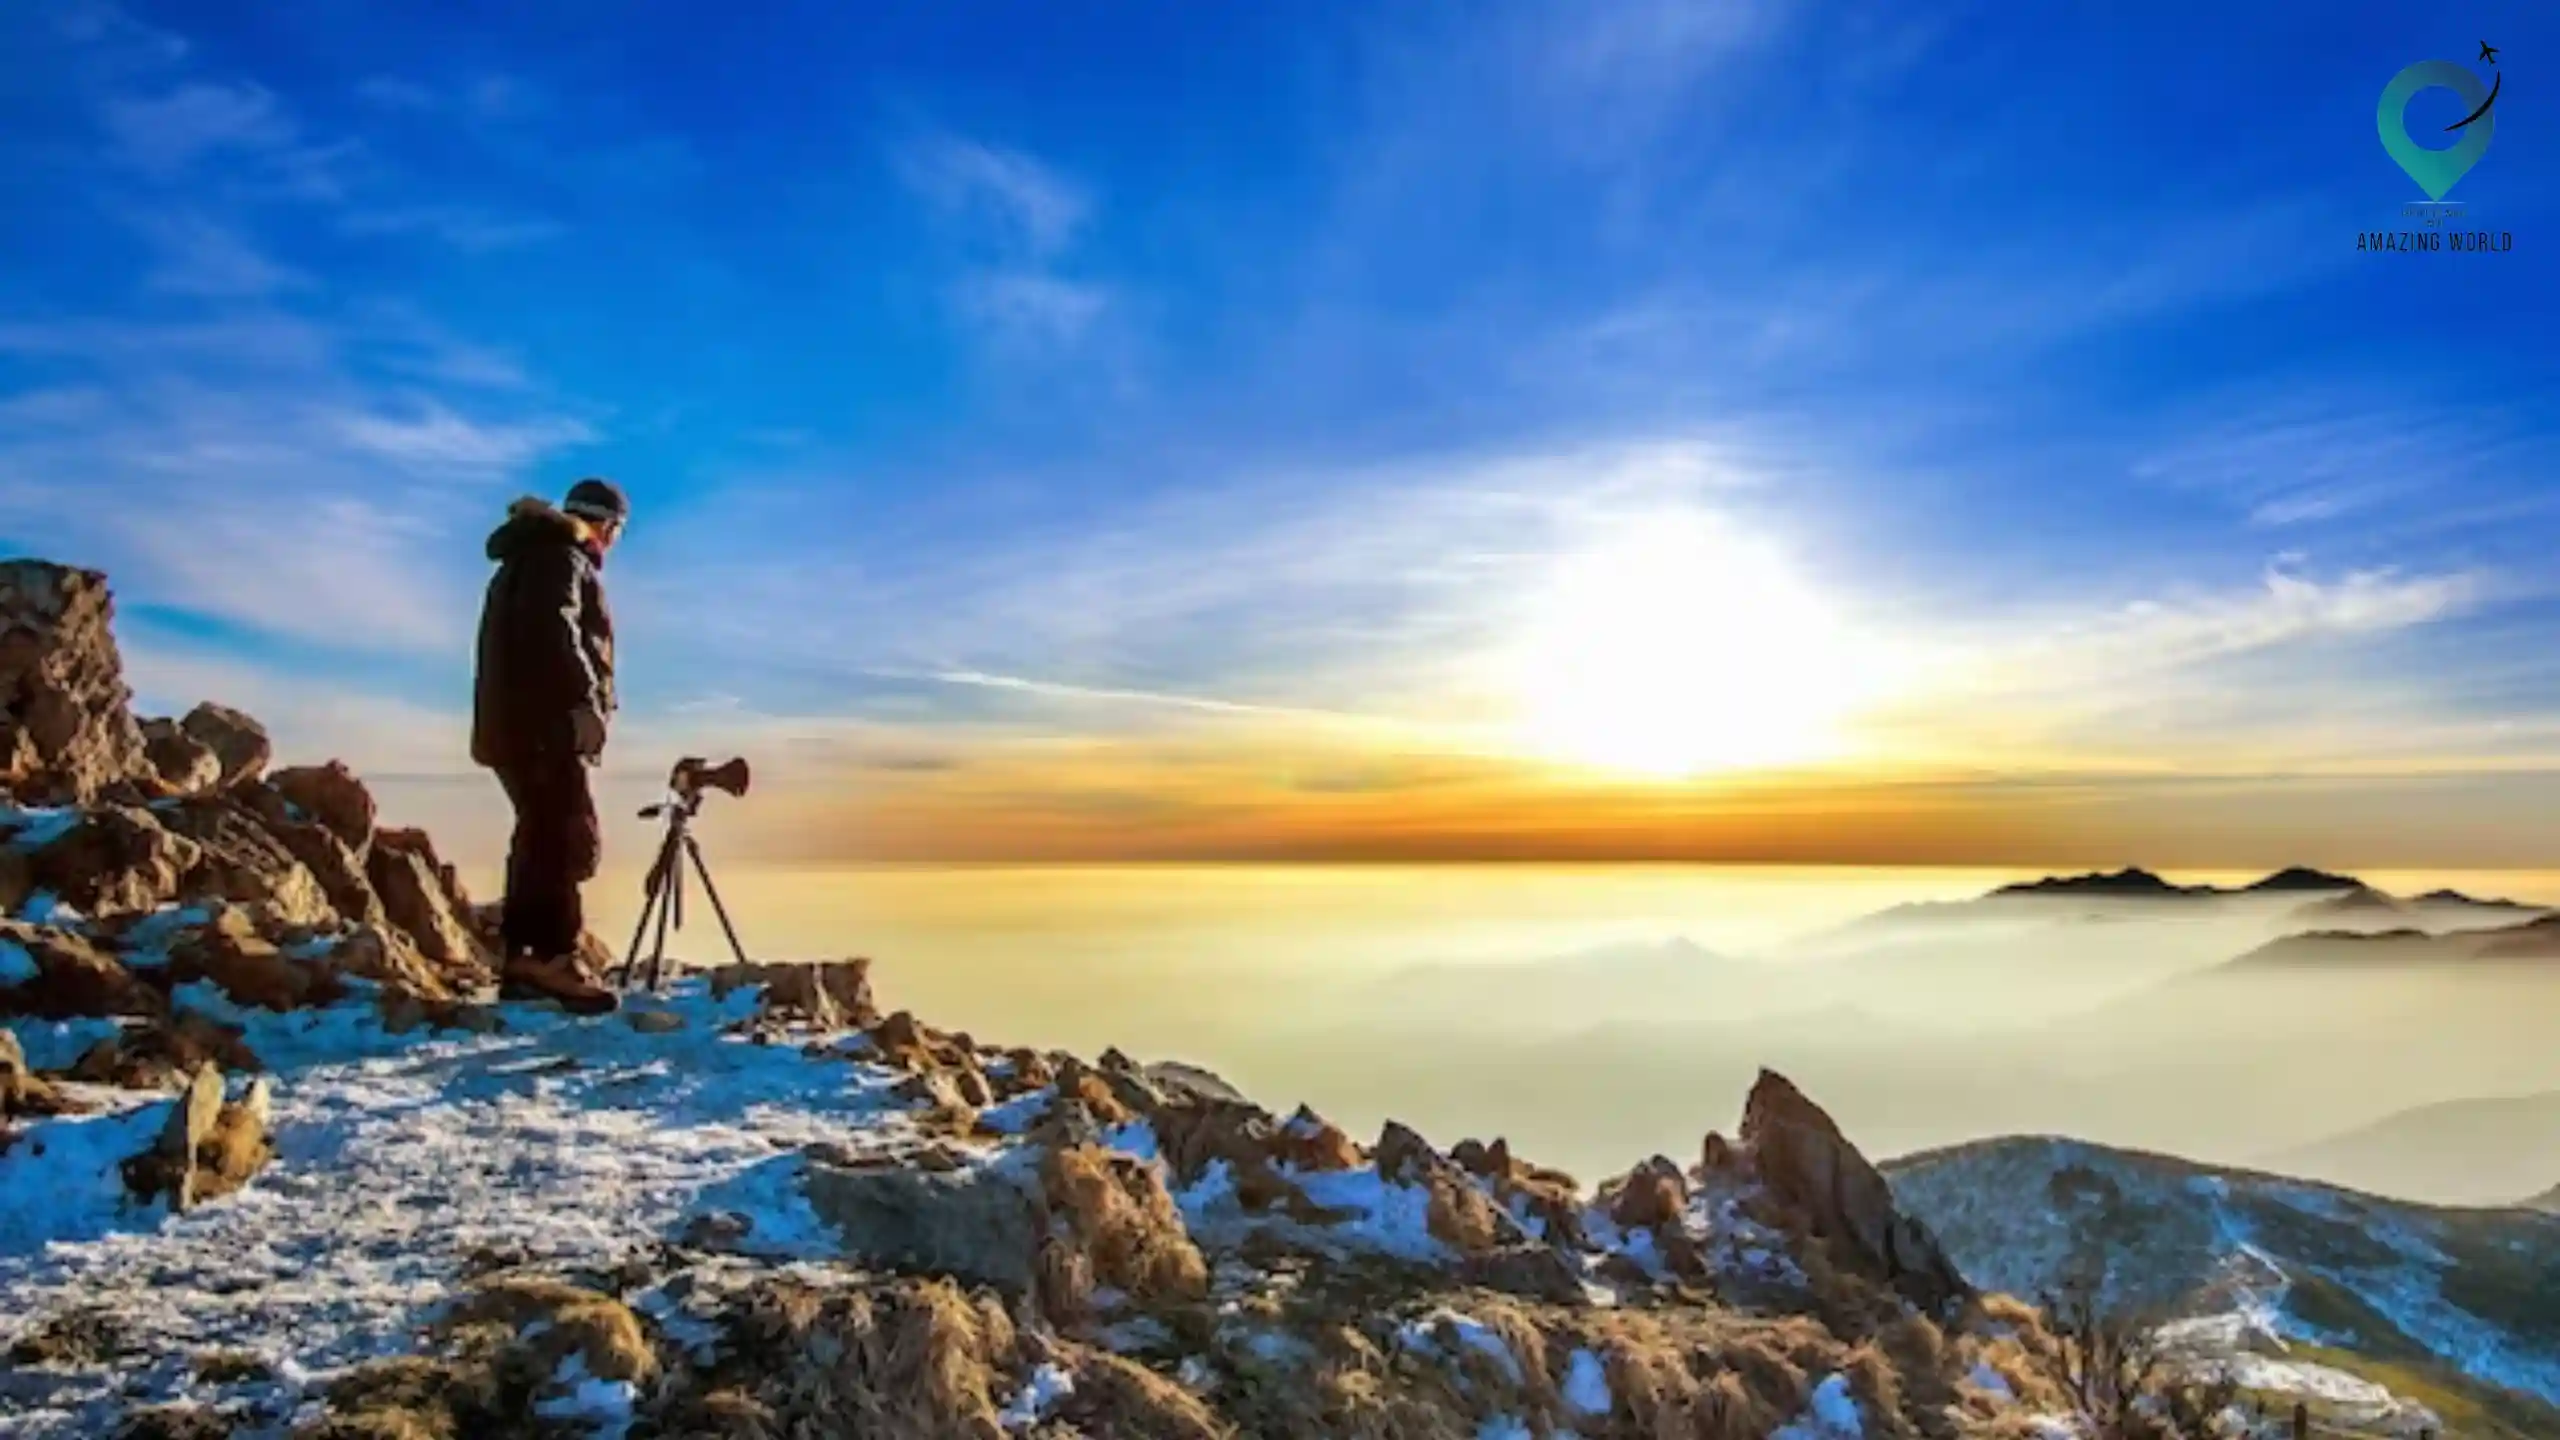
Use a Sturdy Tripod
A stable platform is essential for sunrise photography, especially when using longer shutter speeds to capture low-light conditions. A good tripod:
- Eliminates Camera Shake: A stable tripod prevents camera shake, resulting in sharp and clear images.
- Long Exposure: To capture the soft, dreamy effect of water or clouds, you’ll need longer exposure times. A tripod ensures your camera stays perfectly still.
- Flexibility: Tripods allow you to experiment with composition and angles more effectively than handheld shooting.
Choose the Right Lens
Selecting the appropriate lens for your sunrise photography significantly affects the outcome of your shots. A wide-angle lens is often preferred:
- Captures More: Wide-angle lenses capture a broader field of view, allowing you to incorporate both the expansive sky and the foreground details.
- Depth and Scale: They enhance the sense of depth and scale in your images, making the landscape appear grander.
- Variety: While wide-angle lenses are popular, don’t hesitate to experiment with different focal lengths for unique perspectives.
Shoot in RAW
Shooting in the RAW format gives you more control over your sunrise photographs during post-processing. Here’s why it’s crucial:
- Higher Data: RAW files contain more data than JPEGs, preserving more details, colors, and dynamic range.
- Flexibility: RAW files allow you to adjust exposure, white balance, and other settings without degrading image quality.
- Correction: If your exposure isn’t perfect in-camera, RAW files offer more latitude for correction during post-processing.
Manual Mode and Settings
Switching to manual mode empowers you to take control of your camera settings, ensuring you capture the sunrise scene exactly as you envision it.
- Aperture: Adjust the aperture (f-stop) to control depth of field. A narrower aperture (higher f-number) keeps both the foreground and background in focus.
- Shutter Speed: Use longer shutter speeds to capture the changing light and colors during sunrise. Experiment with different speeds to achieve various effects.
- ISO: Start with a low ISO setting to minimize noise in your images. As the light changes, adjust ISO accordingly.
Bracketing for Exposure
Multiple Exposures: When shooting during sunrise, the dynamic range of light can be challenging to capture in a single shot. Bracketing involves taking a series of shots at different exposures: one properly exposed, one underexposed to retain highlights, and one overexposed to capture shadow details.
Dynamic Range Enhancement: By combining these bracketed shots during post-processing, you can create an image with a broader dynamic range, preserving both the bright highlights and dark shadows. This technique is particularly useful when the sky is much brighter than the foreground.
HDR Blending: High Dynamic Range (HDR) software can be used to blend bracketed shots seamlessly. This process produces a final image that showcases the full range of colors and details in the scene.
Utilize Filters
ND Filters: Neutral Density (ND) filters come in various strengths and are used to reduce the amount of light entering the camera. They enable you to achieve longer exposure times, resulting in smooth water surfaces, blurred clouds, and a dreamy effect in your sunrise images.
Graduated ND Filters: These filters have a gradient from dark to clear, allowing you to balance the exposure between the bright sky and darker landscape. By placing the darker portion over the sky, you can avoid overexposing the highlights.
Polarizing Filters: Polarizers reduce glare and reflections, making colors appear more vibrant. They’re especially useful for enhancing the blues in the sky and removing reflections from water surfaces.
Filter Considerations: When using filters, be cautious of vignetting, color casts, and potential lens flare. Invest in high-quality filters and experiment with their effects to achieve the desired results.
Experiment with Composition
Leading Lines: Utilize natural or architectural lines to guide the viewer’s gaze toward the sunrise or a prominent element in the frame. Examples include roads, paths, or shorelines that lead toward the sun.
Rule of Thirds: Divide your frame into thirds both horizontally and vertically, creating a grid of nine squares. Positioning the sunrise along one of these lines or at their intersection points can create a more visually pleasing composition.
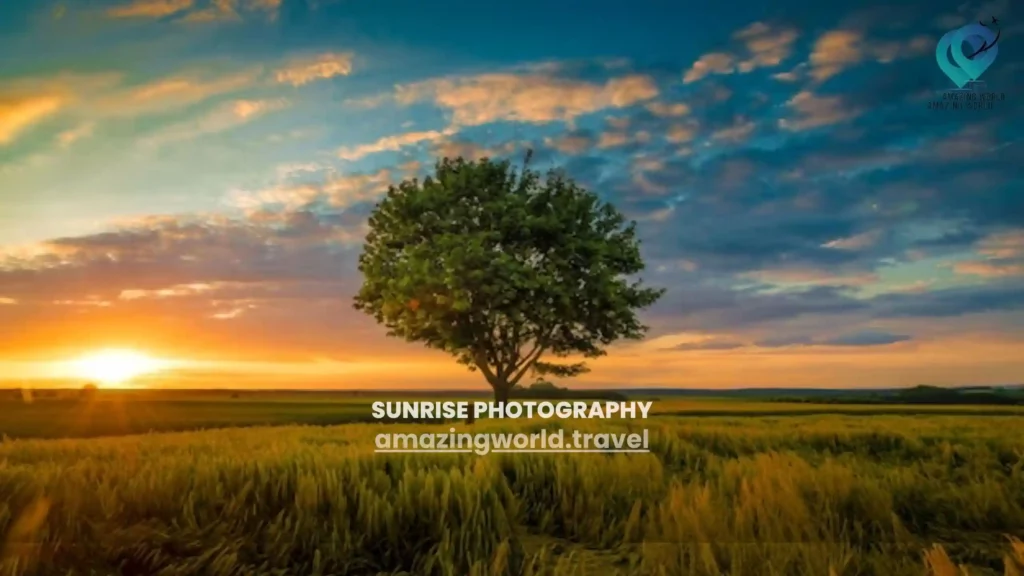
Foreground Interest: Incorporate foreground elements like rocks, plants, or structures to add depth and context to your sunrise shots. These elements anchor the image and provide a point of interest.
Symmetry and Reflections: If you’re shooting near water, take advantage of reflections to create symmetry in your composition. The mirrored effect can add a sense of tranquility and beauty.
Breaking Rules: While compositional guidelines are helpful, don’t hesitate to break them and experiment with unconventional angles. This can lead to unique and captivating images.
Be Patient and Observant
Changing Light: Sunrise lighting changes rapidly. Pay attention to how the colors, shadows, and highlights evolve as the sun rises. Adjust your camera settings and composition accordingly to capture these shifts.
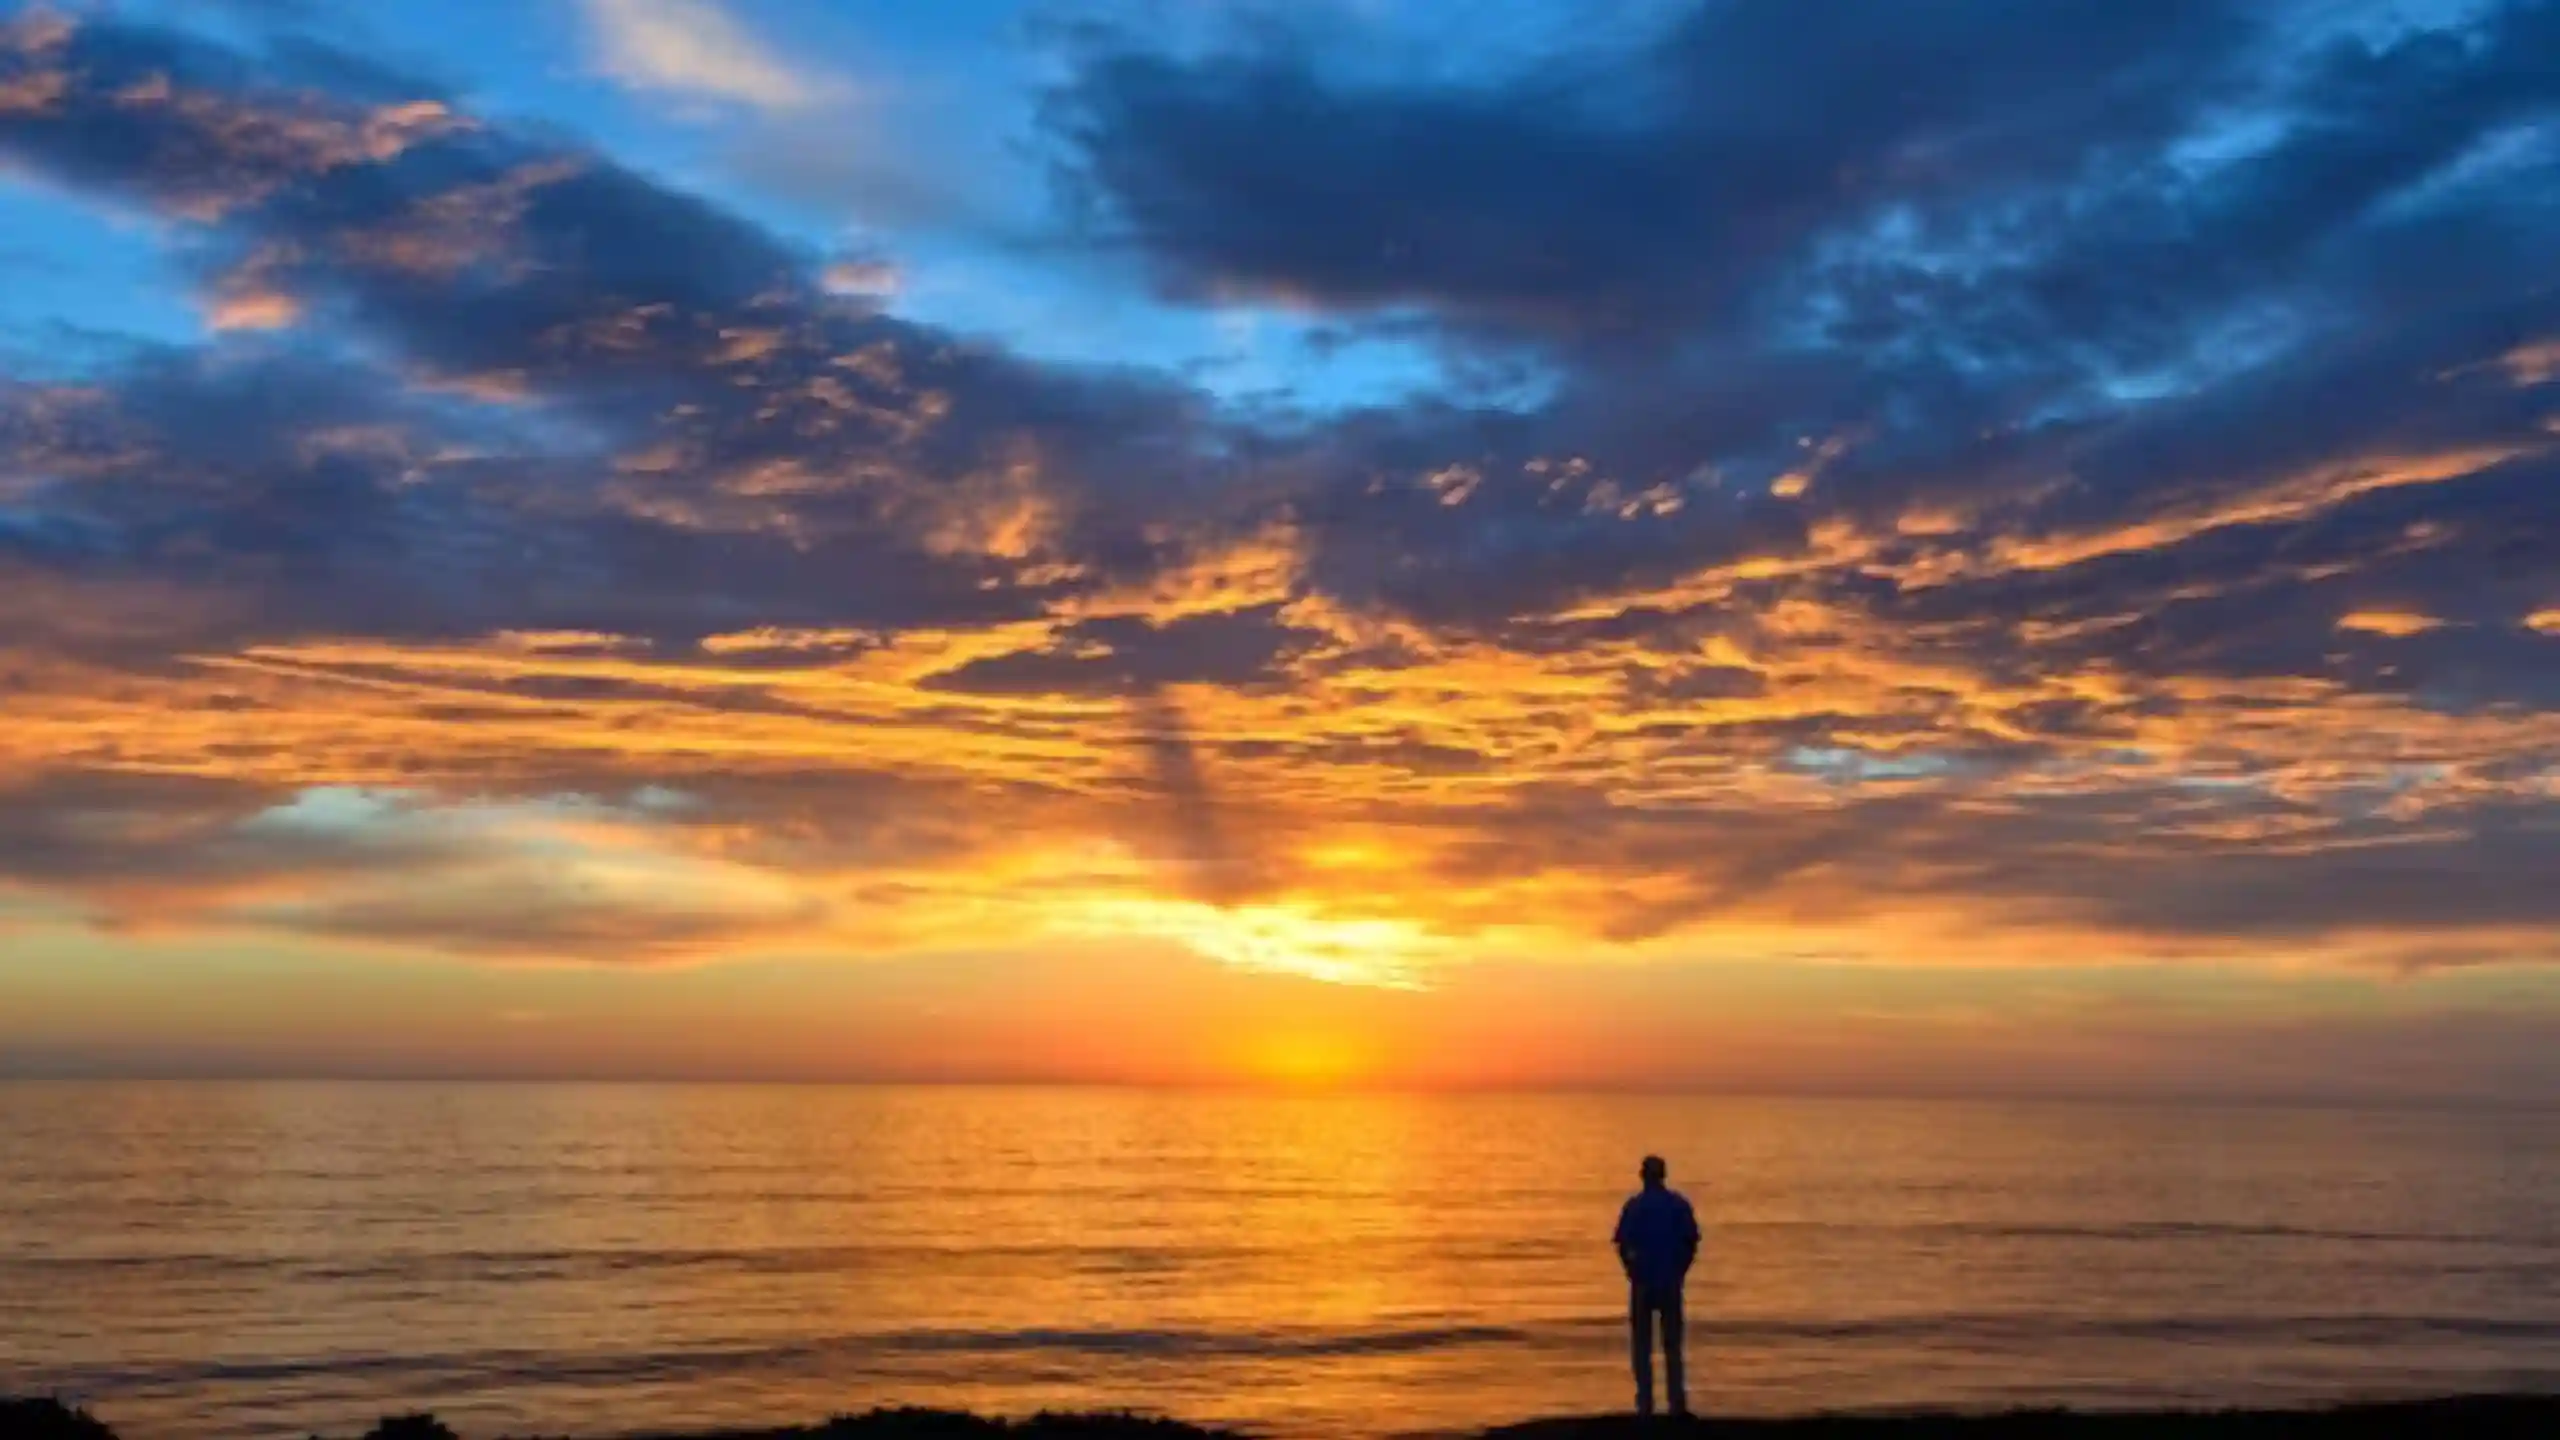
Cloud Formations: Clouds can dramatically impact the mood of your sunrise shots. Look for dynamic cloud formations that interact with the rising sun, casting interesting shadows and adding texture to the sky.
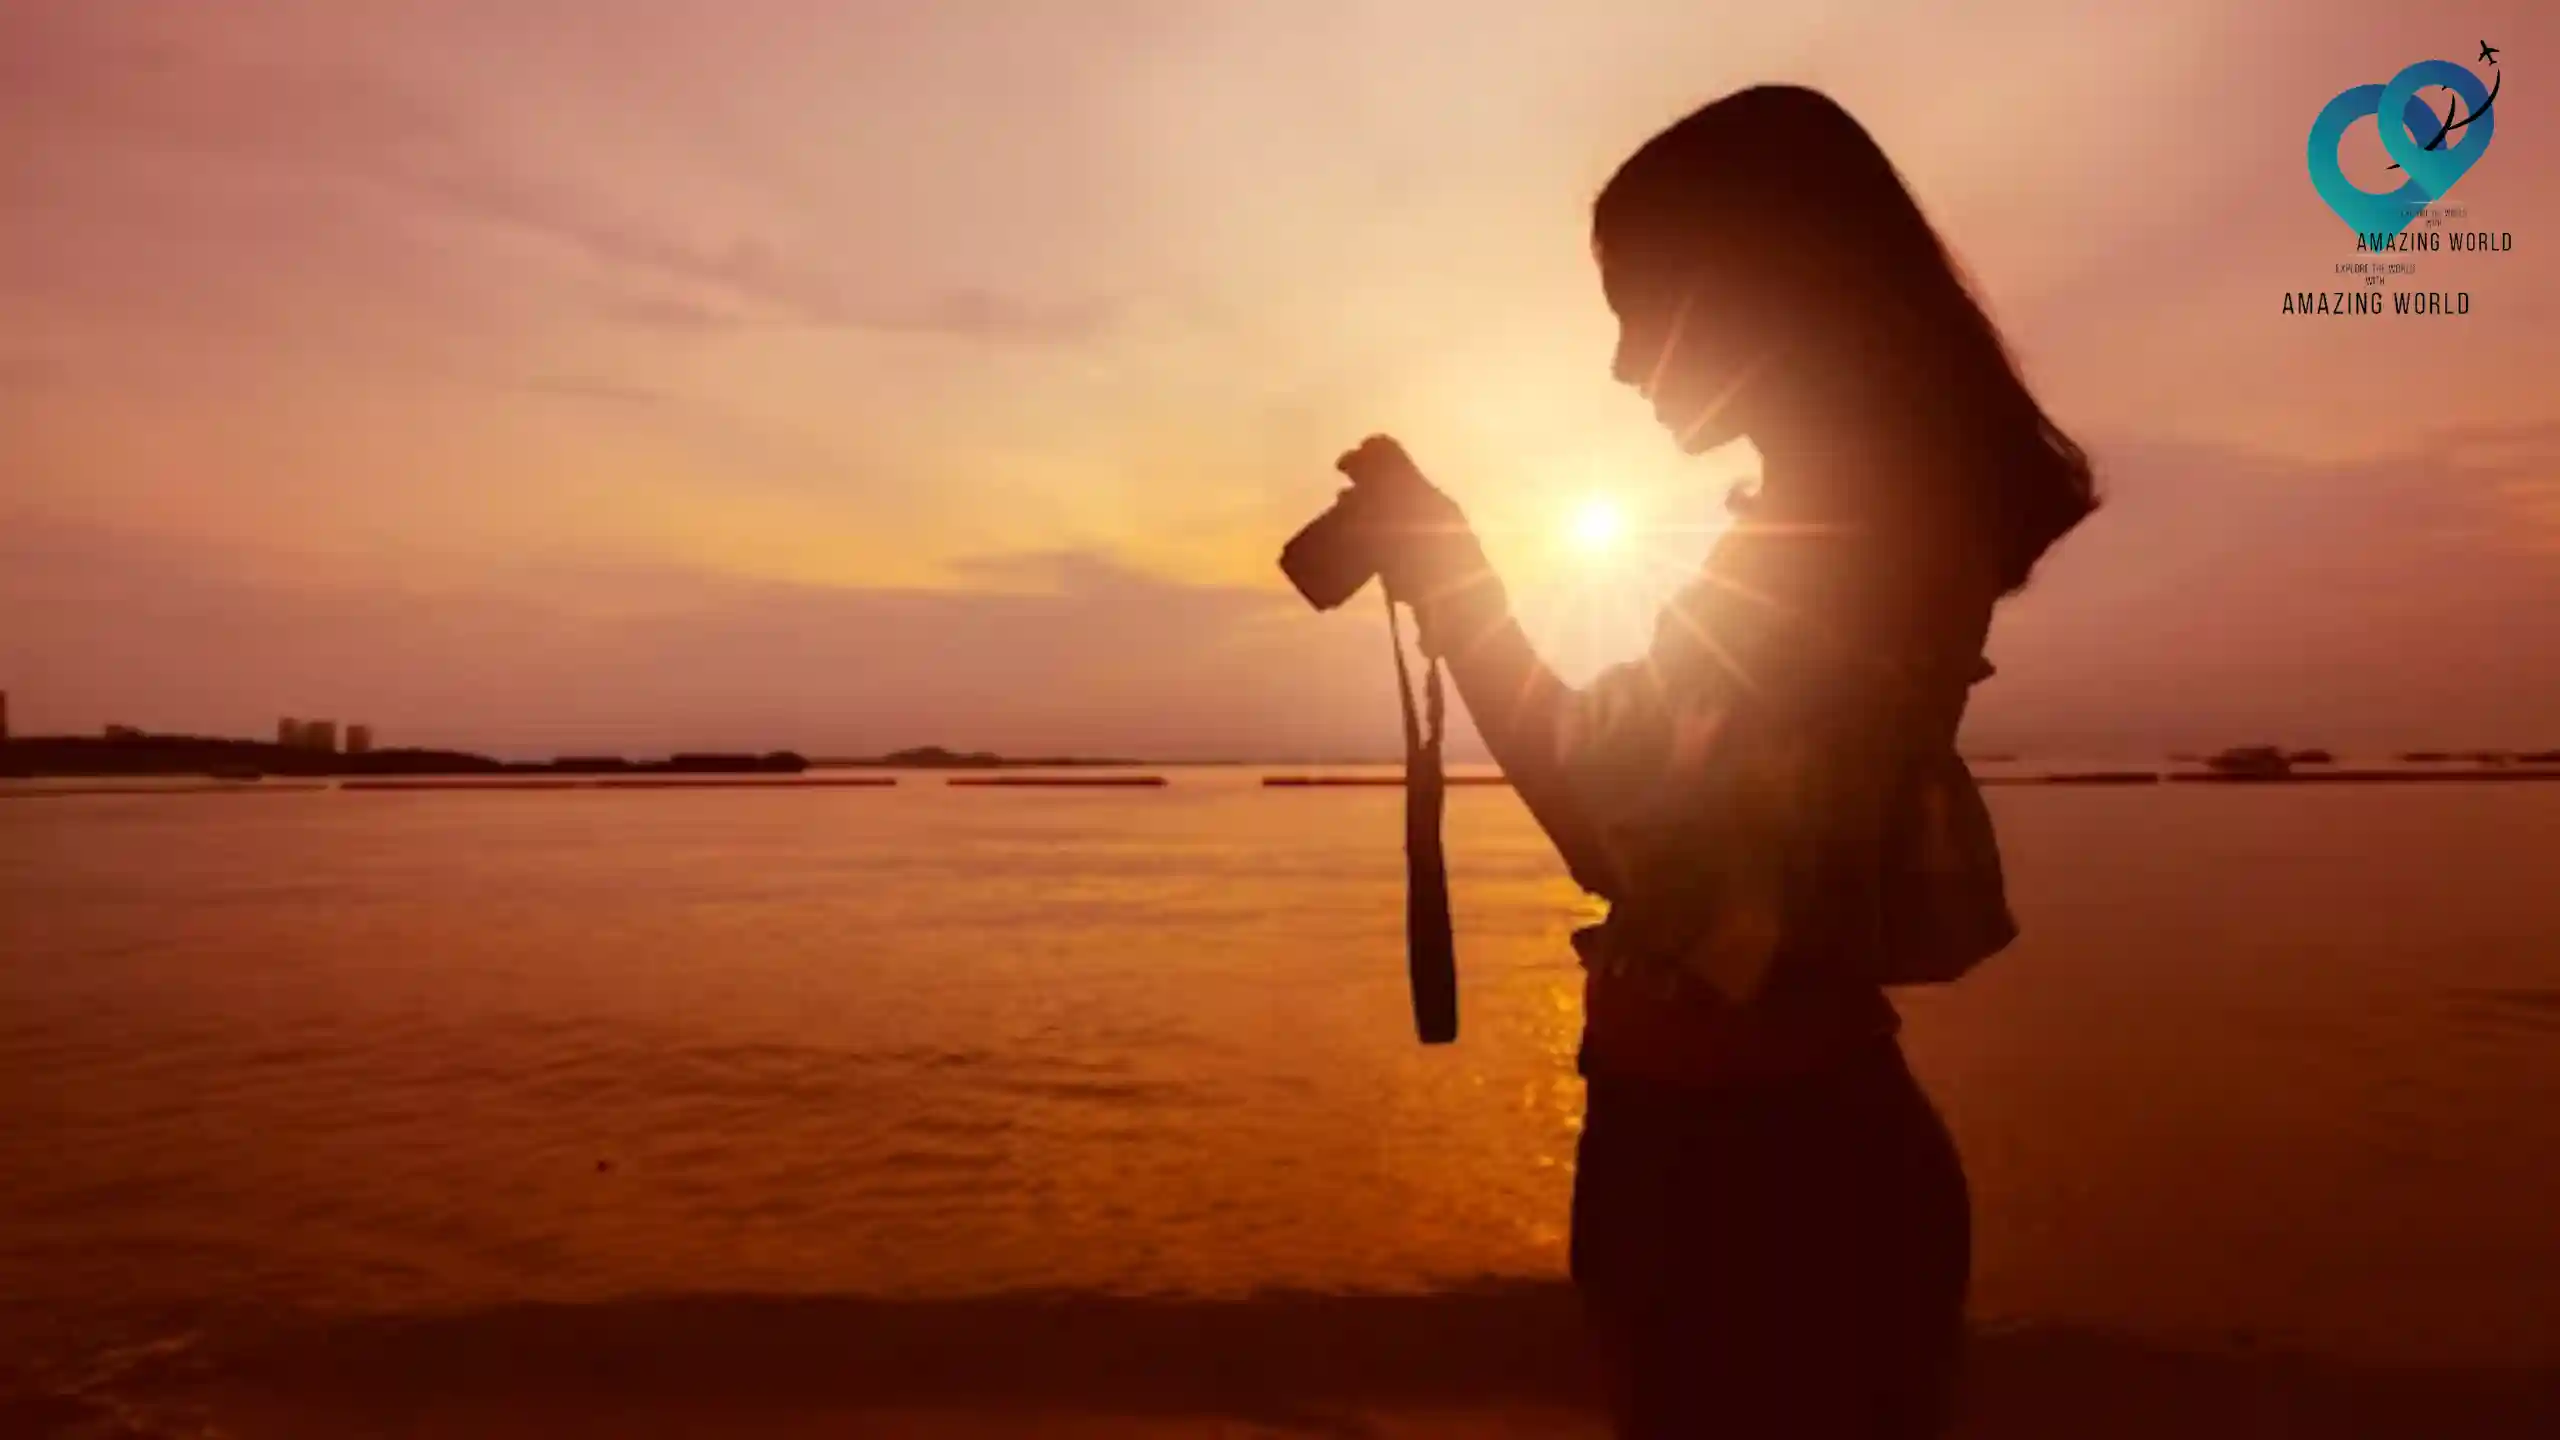
Silhouettes and Contrast: As the sun rises, consider capturing silhouettes against the brightening sky. The contrast between dark foreground elements and the colorful sky can create visually striking images.
Moment of Magic: Sometimes, the most breathtaking moments occur just before or after the sun breaks the horizon. Be ready to capture these moments of magical light and color.
Post-Processing
Subtle Enhancements: When editing sunrise images, aim for subtlety. Enhance the natural beauty of the scene rather than drastically altering it. Adjust exposure, contrast, and color balance to match your initial vision.
Color Grading: Experiment with color adjustments to evoke a specific mood. Enhance warm tones during the golden hour or emphasize the cool hues of a blue-hour sunrise.
Sharpening and Noise Reduction: Apply appropriate sharpening techniques to enhance details in your images. Use noise reduction to mitigate any noise that might have resulted from using higher ISO settings.
Maintain Realism: While post-processing offers creative freedom, strive to maintain the authenticity of the scene. Avoid overly saturated colors or unrealistic adjustments that can make the image appear artificial.
Conclusion.
In the realm of photography, sunrise presents a canvas of unmatched beauty and ever-changing charm. Mastering the art of capturing sunrise shots requires more than just technical prowess—it demands a blend of creativity, dedication, and the willingness to embrace the unexpected. By following these proven techniques, you’re equipped to embark on a journey that promises breathtaking results.
How much did you like Our detailed Mastering Cinematic Travel Videography: 15 Tips to Create Stunning Travel Videos? Review Also, please share these Blogs with your friends on social media.
Related Article –
Sunrise Photography FAQ’s
Can I shoot sunrise photos with a smartphone?
Yes, smartphones have capable cameras for sunrise photography. However, you’ll have more control and better results using a dedicated camera with manual settings.
What’s the golden hour?
The golden hour is the period shortly before sunrise and after sunset when the sun is low in the sky, creating soft, warm, and flattering lighting conditions.
How can I find the best locations for sunrise photography?
Online resources, photography forums, and apps like PhotoPills can help you discover popular sunrise photography locations. Additionally, exploring your local area and seeking out unique viewpoints can lead to exciting discoveries.
Is post-processing necessary for sunrise photos?
Post-processing allows you to enhance the qualities of your sunrise images and bring out their full potential. While it’s not mandatory, even minor adjustments can significantly improve the final result.
What camera settings should I use for sunrise photography?
Start with a low ISO setting to minimize noise, use a wide aperture for depth of field control, and adjust the shutter speed to capture the changing light. Manual mode offers the most control over these settings.
How do I ensure proper focus during sunrise photography?
Using manual focus is often the best approach. Focus on a prominent element in your composition or use the hyperfocal distance technique to keep both foreground and background sharp.
What’s the blue hour and when does it occur?
The blue hour is the period of twilight before sunrise and after sunset when the sun is below the horizon but still illuminates the sky. It’s characterized by a deep blue hue. It typically occurs roughly 20 to 30 minutes before sunrise.
What if the sunrise is hidden behind clouds?
Cloudy conditions can create soft, diffused light that’s perfect for capturing subtle details and muted colors. Use longer exposures to emphasize cloud movement and texture.
Can I shoot sunrise photos in urban environments?
Absolutely. Urban landscapes can provide unique opportunities for sunrise photography, with city skylines, architecture, and bridges silhouetted against the rising sun.
How do I find the best foreground elements for my sunrise shots?
Explore the area around your chosen location to find interesting elements like rocks, trees, or water bodies that can enhance your composition. Incorporating these elements adds depth and context to your images.

Meet David Hoper, a passionate travel Blog writer with 7+ years of experience in travel content. Through his exemplary storytelling and engaging narratives, he shares his experiences and brings destinations to life. With a keen eye for detail and a love for exploration, he has cultivated a diverse portfolio of travel blogs that inspire and inform readers worldwide.


