The Ultimate Guide for Mastering Twilight Photography
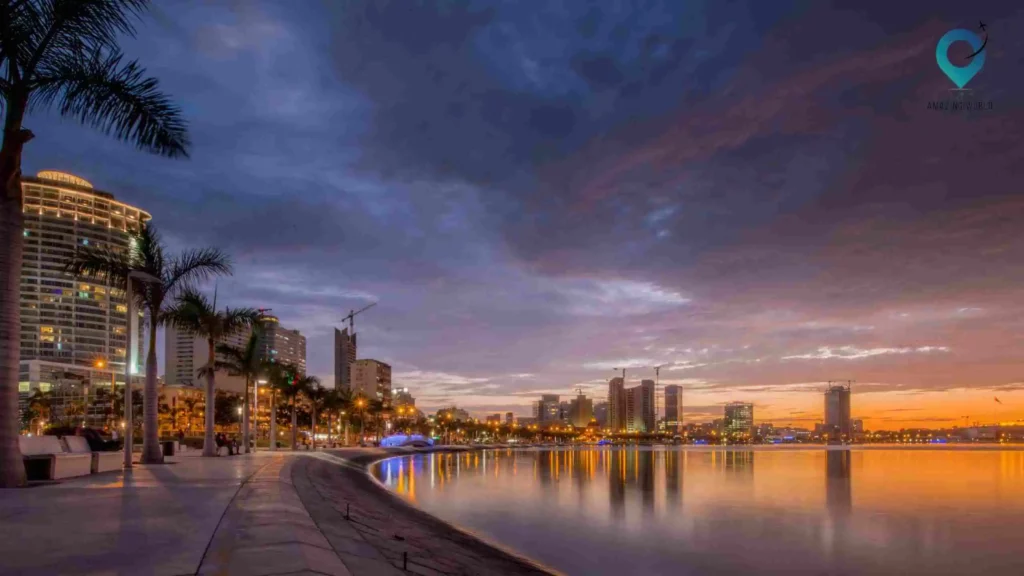
Embracing the magical dance between light and shadow, twilight photography transports us to a realm of captivating beauty and evocative emotions. As the sun gracefully dips below the horizon, a symphony of warm and cool tones emerges, painting the sky with hues that defy easy description.
From the soft glow of civil twilight to the deep hues of nautical twilight and the enchanting canvases of astronomical twilight, this ethereal transition between day and night holds a mesmerizing allure for photographers.
In this guide, we embark on a journey to unravel the secrets of mastering twilight photography, where every click of the shutter captures a fleeting moment of enchantment.
What is Twilight Photography?
Twilight refers to the moments before sunrise and after sunset when the sun is below the horizon, creating a soft, diffused light that adds depth and mood to photographs. This period is divided into three phases:
- Civil Twilight: Occurs when the sun is just below the horizon, and there’s enough light for most outdoor activities without the need for artificial lighting.
- Nautical Twilight: The sky is darker, and the horizon is no longer visible at sea. It’s a great time to capture cityscapes against the fading light.
- Astronomical Twilight: The sky becomes even darker, allowing for the observation of celestial objects. It’s ideal for capturing starry skies and celestial events.
Twilight shots possess a captivating quality that stems from the interplay of natural light and the colors that emerge during this transition.
Tips for Getting Started with Twilight Photography
Embrace the Challenge: Twilight photography presents unique challenges due to the changing light foreground, midground, and background elements giving it an opportunity to push your creative boundaries.
Scout Locations: Before you head out for a twilight shoot, scout potential locations during the day. Familiarize yourself with the terrain, angles, and possible compositions. This preparation will save you time and help you make the most of the limited light.
Plan Composition: Twilight offers a unique canvas for creative compositions. Look for interesting elements in the foreground, midground, and background to create depth and visual interest. Experiment with leading lines, framing, and symmetry to guide the viewer’s eye through the image.
Capture the Transition: One of the enchanting aspects of twilight photography is capturing the transition from daylight to darkness. Set up your shots to include elements that showcase this change, such as the fading sunlight on buildings or the emerging stars in the sky.
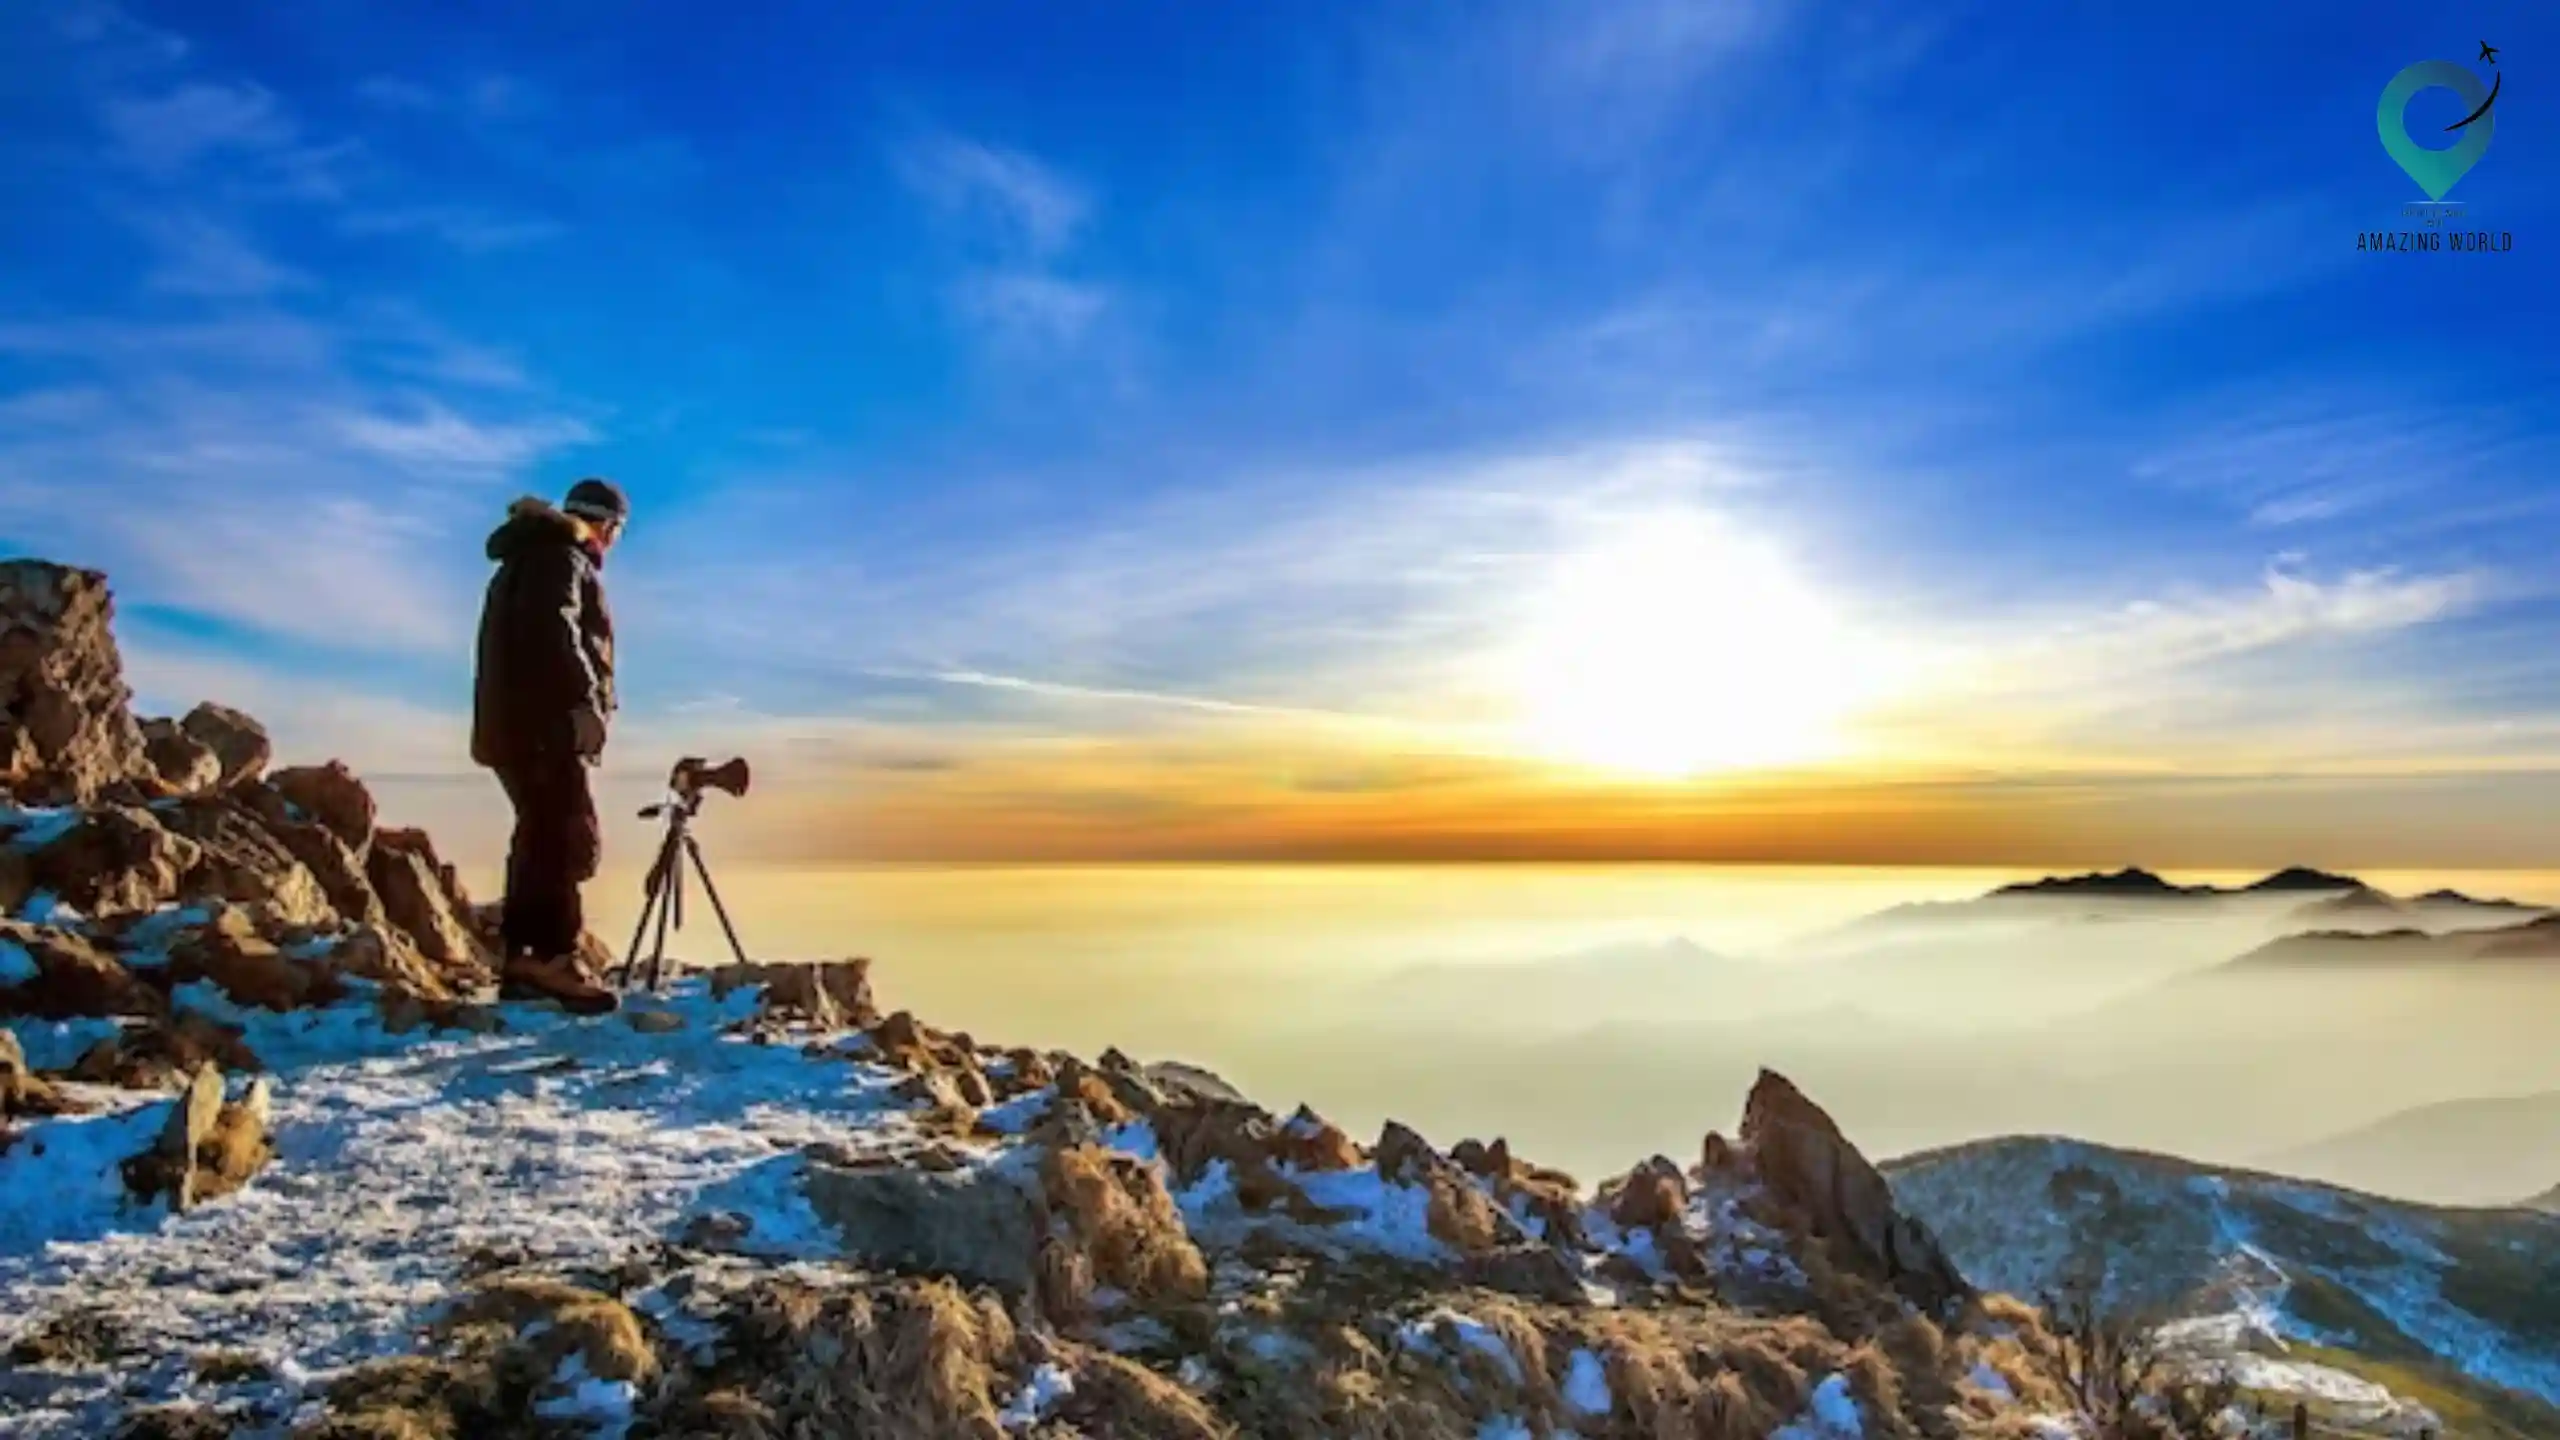
Use a Tripod: As light levels decrease, longer exposure times might be necessary. A sturdy tripod is essential to eliminate camera shake and ensure sharp images, especially when using slower shutter speeds.
Adjust White Balance: The changing light during twilight can lead to shifts in color temperature. Experiment with white balance settings to capture the accurate colors and mood of the scene. Consider enhancing the warm tones during civil twilight and emphasizing cool tones during nautical and astronomical twilight.
Bracket Exposures: Since twilight lighting can vary greatly, consider bracketing your exposures. Take multiple shots at different exposure levels to ensure you capture the full range of highlights and shadows.
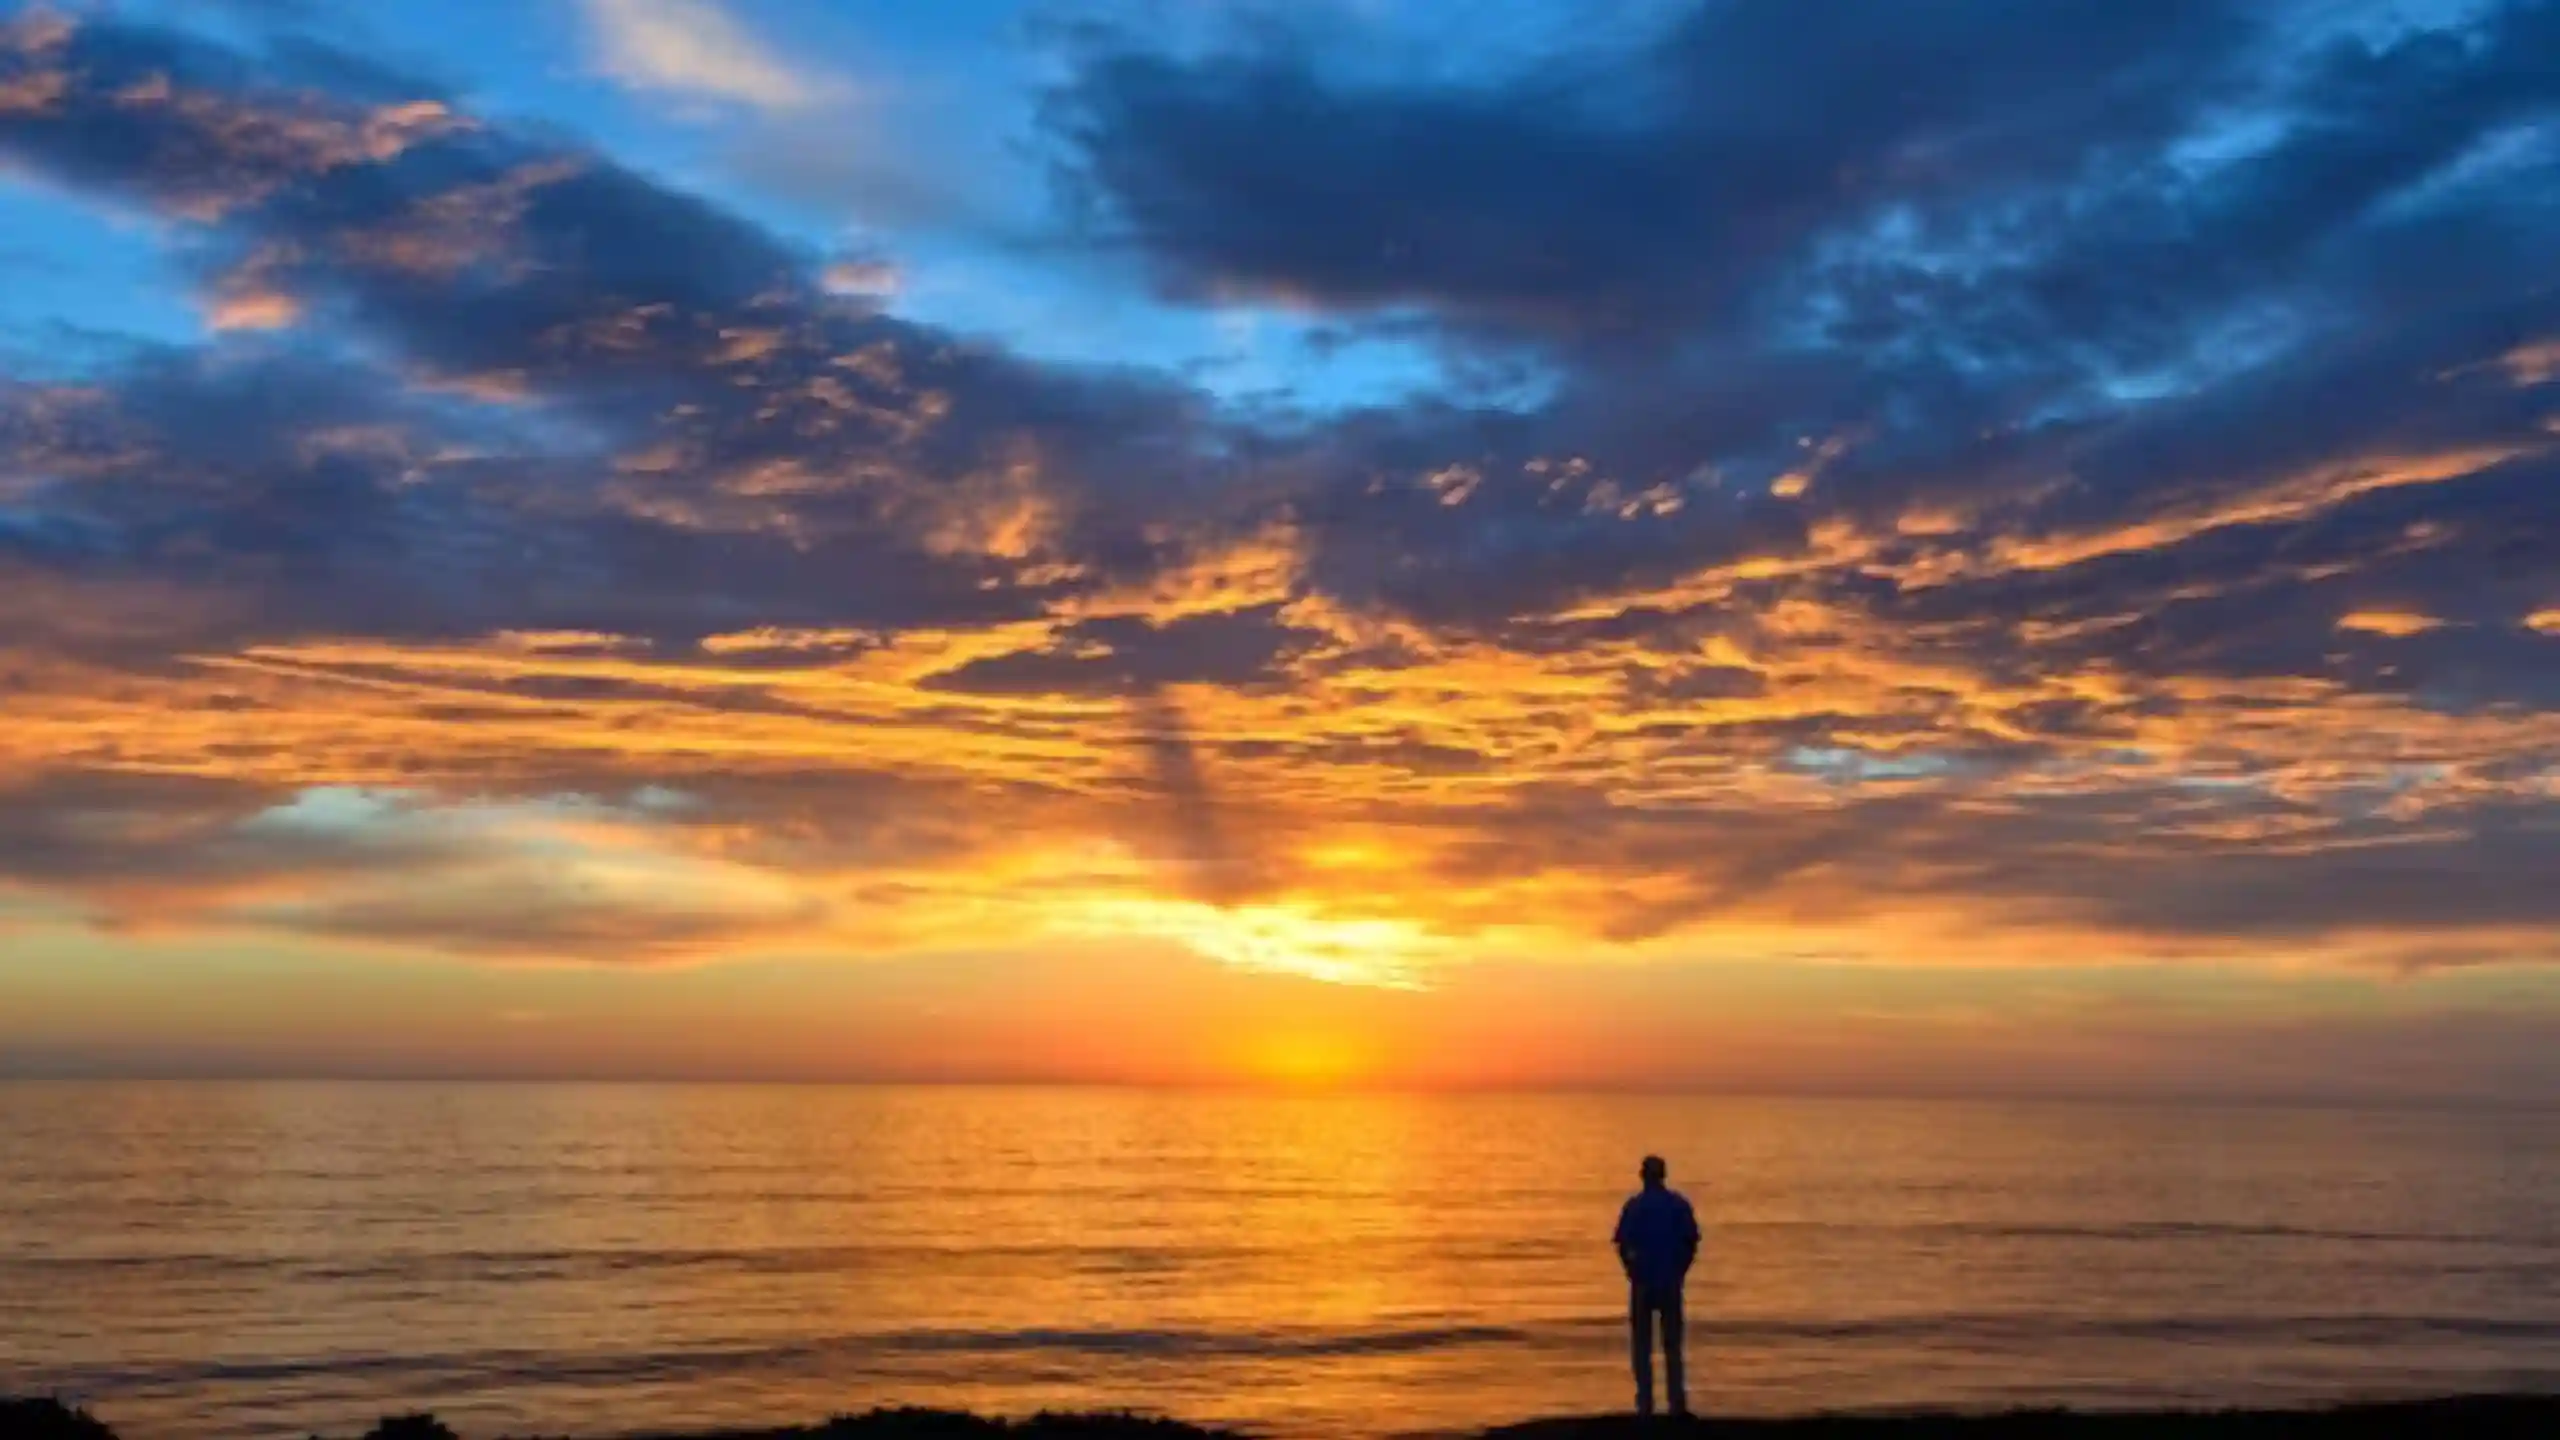
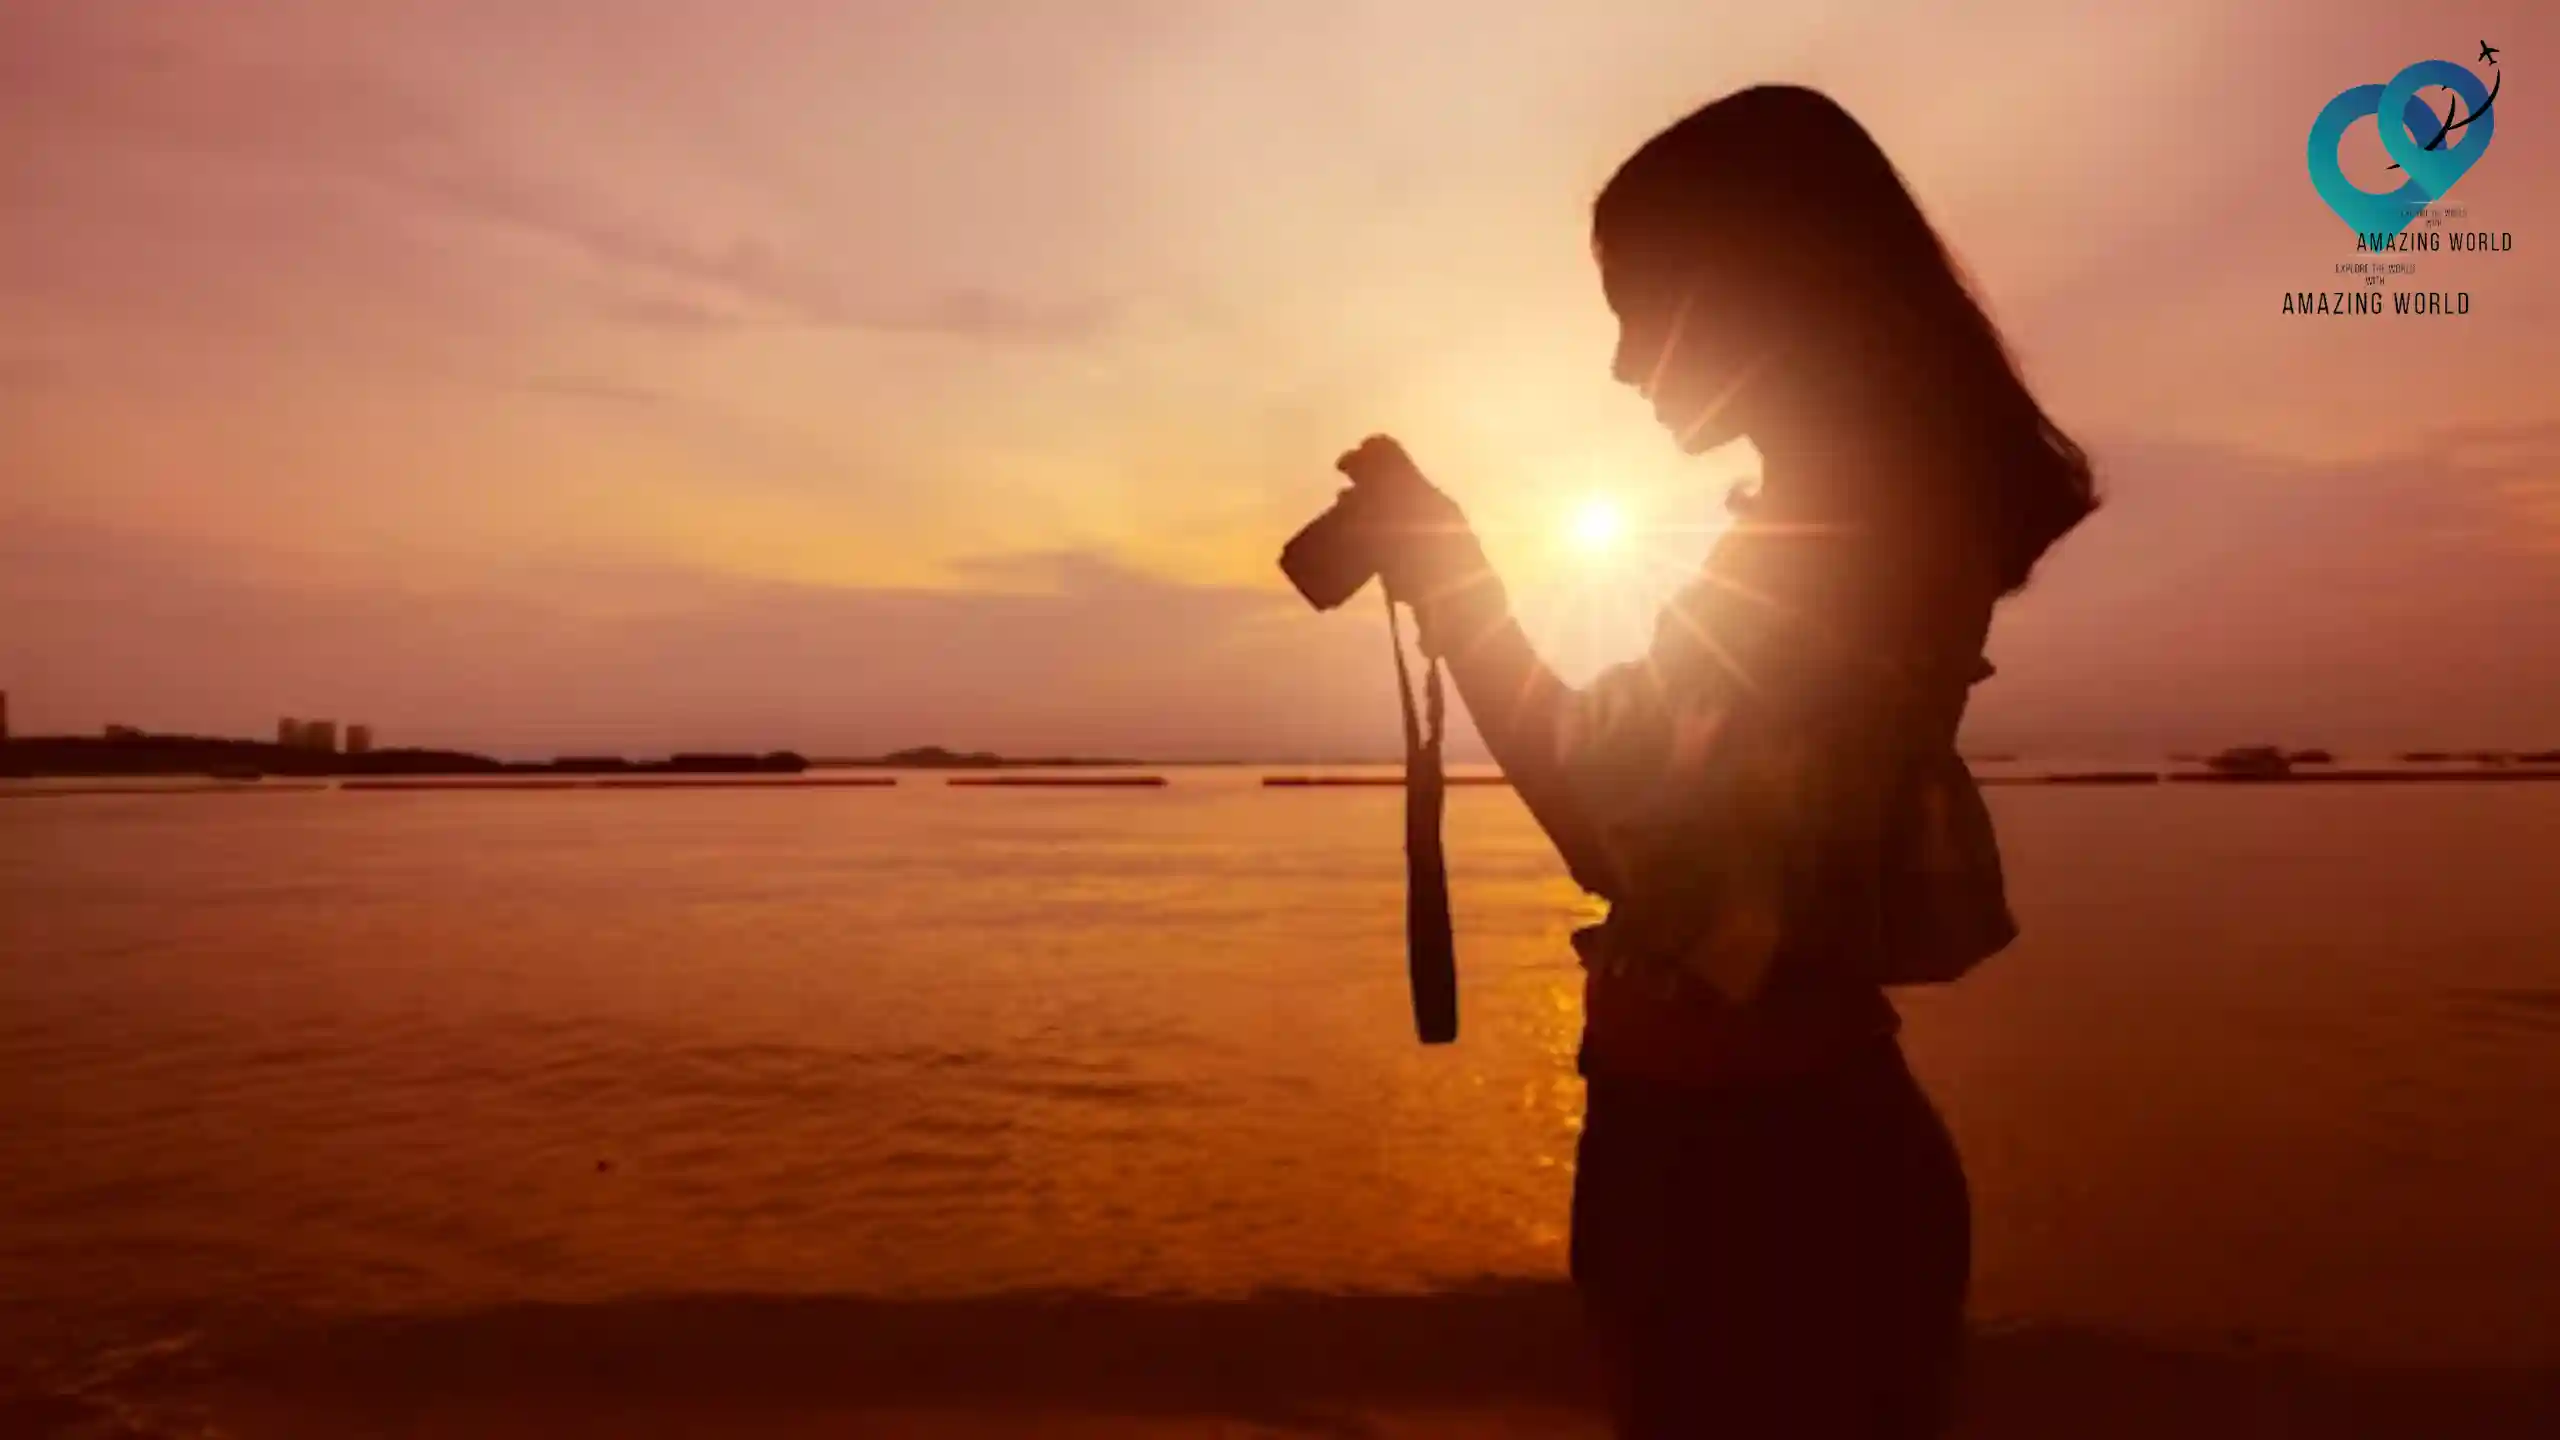
Experiment with Silhouettes: Twilight is an ideal time to experiment with silhouettes. Position subjects against the bright twilight sky to create striking, dramatic outlines.
Add Motion: If you’re shooting in urban environments with lights and traffic, incorporate motion into your shots. Long exposures can create captivating light trails from moving vehicles, adding dynamism to your photographs.
Stay Patient: Twilight is a brief period, and the light changes rapidly. Stay patient and be prepared to adapt your settings quickly as the ambient light decreases. Don’t rush the process; the results are worth the effort.
Post-Processing Considerations: While shooting, keep in mind how you’ll process the images later. Shooting in RAW format allows for greater flexibility in post-processing, particularly when it comes to adjusting exposure, color balance, and noise reduction.
Practice and Experiment: Like any photographic skill, mastering twilight photography takes practice. Don’t be discouraged by initial results; every shoot is a chance to learn and refine your techniques. Experiment with different settings, compositions, and subjects to discover your style within the twilight realm.
As you embark on your twilight photography journey, remember that each session is a learning experience. The unique beauty of twilight moments can lead to breathtaking photographs, so embrace the challenges and relish the rewards.
The Best Times of Day for Twilight Photography
Understanding the different phases of twilight and their timing is crucial for achieving the desired atmosphere in your photos:
- Civil Twilight: Just before sunrise and after sunset. It’s perfect for capturing cityscapes and landscapes with a soft glow.
- Nautical Twilight: This phase occurs when the sun is 6 to 12 degrees below the horizon. The sky takes on deeper shades, and city lights become more pronounced.
- Astronomical Twilight: The period when the sun is between 12 to 18 degrees below the horizon. The sky becomes darker, revealing stars and other celestial objects.
Each phase offers its own unique photographic opportunities, so choosing the right time can greatly enhance the visual impact of your twilight shots.
Twilight Photo Filter: Enhancing the Magic
Twilight photo filters are valuable tools that allow you to accentuate the enchanting qualities of twilight photography. These filters are designed to enhance specific aspects of your images, such as color temperature, contrast, and overall mood.
By understanding how to use twilight photo filters effectively, you can elevate the impact of your twilight shots and create images that truly capture the essence of this magical time of day.
Cooling Filters:
- Purpose: Cooling filters, often referred to as “blue” filters, are used to intensify the cool tones present during twilight. They can enhance the serene and ethereal atmosphere that twilight imparts to your images.
- Application: Attach a cooling filter to your camera lens or use a digital filter in post-processing. Cooling filters help in retaining the soft blue and purple hues that characterize twilight, further enhancing the dreamy quality of your shots.
- Effect: When applied correctly, cooling filters can make your twilight photographs feel even more tranquil and magical, emphasizing the tranquility of the transition from day to night.
Graduated Neutral Density Filters:
- Purpose: Graduated Neutral Density (ND) filters are essential for balancing the exposure between the bright sky and the darker landscape during twilight. They help prevent overexposed skies and underexposed foregrounds, maintaining details in both areas.
- Application: Attach a graduated ND filter to your lens. Position the dark portion of the filter over the sky and the clear portion over the landscape. This darkens the sky, allowing you to capture the intricate colors and textures of the fading light.
- Effect: By ensuring a balanced exposure, graduated ND filters help you capture the full dynamic range of twilight scenes. This ensures that your images accurately reflect the beauty and mood of the moment.
Experimentation and Creativity:
- Custom Effects: While cooling filters and graduated ND filters are commonly used for twilight photography, don’t hesitate to experiment with other filters. Some photographers use color-changing filters or diffusion filters to achieve unique and artistic effects during twilight.
- Stacking Filters: You can also stack filters to create layered effects. For instance, you might combine a cooling filter with a graduated ND filter for a comprehensive enhancement of both color and exposure.
- Digital Filters: In the realm of post-processing, various software applications offer digital filters that can replicate the effects of physical filters. This flexibility allows you to fine-tune your images after capturing them.
Choosing the Right Filter:
- Scene and Intention: Consider the specific scene and mood you wish to convey. Choose a filter that complements your creative intention and enhances the inherent beauty of twilight.
- Quality Matters: If you opt for physical filters, invest in high-quality options that minimize color shifts and maintain image clarity. The effectiveness of a filter is directly related to its optical quality.
Incorporating twilight photo filters into your photography toolkit can significantly elevate the impact of your twilight shots. Each filter type offers a distinct approach to enhancing specific elements of your images, giving you the power to craft photographs that resonate with the magic and allure of twilight. As with any tool, practice and experimentation will help you harness the full potential of twilight photo filters to create truly captivating visuals.
Twilight Photo Editing and Photo Cover
Editing twilight photos involves enhancing colors, contrast, and mood while maintaining the twilight atmosphere:
Twilight Photo Editing
Editing your twilight photos is a crucial step in bringing out the full potential of the captured scenes. Twilight images often have a unique balance of warm and cool tones, and post-processing allows you to emphasize these characteristics while preserving the magical atmosphere.
- Color Enhancement: Begin by adjusting the color balance to match the natural hues of twilight. Enhance the warm tones of the fading sunlight and the cool tones of the emerging night sky. This step helps recreate the visual experience of witnessing the transition in person.
- Contrast and Highlights: Enhance the contrast between the darkening sky and the illuminated landscape. Adjust highlights to bring out the details in both bright and shadowed areas. This technique emphasizes the changing light and enhances the dynamic range of your photos.
- Vibrance and Saturation: Use the vibrance and saturation adjustments to amplify the natural colors present during twilight. Be careful not to overdo it, as maintaining a balanced and authentic feel is crucial.
- Noise Reduction: Twilight photography often involves shooting in low light conditions, which can lead to noise in your images. Apply noise reduction techniques while post-processing to retain image quality and clarity.
- Graduated Filters and Adjustment Brushes: Use these tools to selectively adjust specific areas of your image. For instance, you can brighten the landscape while maintaining the rich colors of the sky using a graduated filter.
- Preserve Twilight Mood: As you edit, remember that the goal is to enhance the twilight mood rather than alter it drastically. Avoid over-processing, which can result in an artificial look that takes away from the natural beauty of twilight scenes.
Creating a Captivating Photo Cover
The photo cover is the first impression readers have of your article, setting the tone for what’s to come. For a twilight photography article, the cover should encapsulate the magical and mesmerizing qualities of twilight moments.
- Choose a Strong Image: Select an image that showcases the transition from day to night. Ideally, this image should have a well-defined foreground, middle ground, and sky, allowing viewers to appreciate the full spectrum of twilight’s beauty.
- Capture the Atmosphere: Your chosen photo cover should capture the mood and atmosphere of twilight. This might mean focusing on the warm and cool tones of the scene, the interplay of light and shadow, or the emerging stars against the darkening sky.
- Leading Lines and Composition: Utilize leading lines, framing, and captivating composition to guide the viewer’s eye and draw them into the cover image. A well-composed cover can create a sense of anticipation and intrigue.
- Typography and Title Placement: If your cover includes text, such as the title of your article, ensure it complements the image without overwhelming it. Place the text strategically so it doesn’t distract from the visual impact of the photograph.
- Consistency with Article Content: The cover should give readers a glimpse into the content of your article. If possible, choose an image that represents the key concepts you’ll be discussing, such as twilight phases, lighting, or equipment.
By combining thoughtful twilight photo editing techniques with a captivating and representative photo cover, you’ll not only entice readers to explore your article but also provide them with a visual experience that aligns with the magic of twilight photography. Remember that both editing and cover creation are opportunities to showcase your creative vision and share the beauty of Twilight moments with your audience.
What Equipment Do You Need for Twilight Photography?
Twilight photography requires careful consideration of equipment to ensure that you can effectively capture the changing light and create stunning images that reflect the unique qualities of this time of day.
Camera and Lenses
- Camera with Manual Controls: Choose a camera that offers manual control over settings such as ISO, aperture, and shutter speed. Manual control allows you to tailor your camera settings to the changing twilight conditions.
- Full-Frame or APS-C Sensor: Cameras with larger sensors tend to perform better in low-light conditions, providing improved image quality and reduced noise.
- Wide-Angle Lenses: Wide-angle lenses (usually with focal lengths between 14mm and 35mm) are ideal for capturing expansive landscapes and cityscapes during twilight. These lenses allow you to encompass more of the changing light and intricate details.
Tripod
- Stability: A sturdy tripod is essential for twilight photography due to longer exposure times and the need to maintain a stable camera position. Look for a tripod that offers robust support and is capable of holding the weight of your camera and lens.
- Adjustability: Choose a tripod with adjustable legs and a center column to achieve varying heights and angles. This versatility allows you to compose your shots precisely.
Remote Shutter Release
- Vibration Reduction: Using a remote shutter release minimizes the risk of camera shake caused by manually pressing the shutter button. This is especially important when using longer exposure times to capture the changing twilight light.
- Bulb Mode: A remote shutter release with a bulb mode function allows you to take exposures longer than the camera’s standard shutter speed settings, enabling you to capture the gradual shifts in twilight colors.
Filters
- Graduated Neutral Density (ND) Filters: These filters help balance the exposure between the bright sky and the darker landscape during twilight. They are crucial for preventing overexposed skies and underexposed foregrounds.
- Cooling Filters: Cooling filters enhance the cool tones of twilight, intensifying the serene and ethereal atmosphere. They can help you retain the soft blue and purple hues that characterize twilight scenes.
Flashlights and Lighting Tools
- Flashlights: Having a reliable flashlight can assist you in setting up your equipment and navigating in low-light conditions.
- Light Painting Tools: If you want to experiment with light painting during twilight, consider carrying tools like LED flashlights or portable LED panels. These can add creative and dramatic elements to your shots.
Spare Batteries and Memory Cards
- Batteries: Twilight photography often involves longer exposure times, which can drain your camera’s battery more quickly. Carry spare batteries to ensure you don’t miss out on capturing crucial moments.
- Memory Cards: High-resolution images captured during twilight can take up significant storage space. Have ample memory cards available to avoid running out of space during your shoot.
Preparing the right equipment is essential for successful twilight photography. Each piece of equipment contributes to ensuring that you’re able to capture the nuances of changing light and create captivating images that reflect the beauty and magic of twilight. With a well-equipped photography kit, you’ll be poised to master the art of twilight photography and capture stunning shots during this magical time of day.
Camera Settings for Twilight Photography
Configuring your camera settings correctly is crucial for capturing the magical moments of twilight photography. As the light shifts during this time, selecting the right settings will help you achieve well-exposed images that showcase the unique qualities of twilight.
ISO Setting:
- Low ISO: Begin with a low ISO setting (e.g., ISO 100 or 200) to minimize noise and maintain image quality. Lower ISO values provide cleaner images, especially in low-light conditions.
- Adjust as Needed: As the light decreases, you might need to gradually increase the ISO to maintain proper exposure. However, keep in mind that higher ISO settings introduce more noise, so find a balance that minimizes noise while achieving the desired exposure.
Aperture:
- Moderate Aperture: Select a moderate aperture (e.g., f/8 to f/11) to ensure a balance between depth of field and image sharpness. These aperture values provide a good compromise between foreground and background sharpness.
- Depth of Field: A moderate aperture allows you to maintain sharpness throughout your frame, which is particularly important for twilight landscapes and cityscapes where you want both the sky and foreground details in focus.
Shutter Speed:
- Long Exposures: Twilight photography often involves longer exposure times to capture the changing light. Depending on the available light and desired effects, shutter speeds can range from a few seconds to several minutes.
- Bulb Mode: If your camera supports it, use the “Bulb” mode to take exposures longer than the standard shutter speed settings. This is essential for capturing the gradual shifts in twilight colors and creating smooth water and cloud movement.
White Balance:
- Preserving Twilight Colors: Set the white balance to match the natural colors of twilight. If shooting in RAW format, you can adjust the white balance during post-processing to fine-tune the color temperature and capture the authentic twilight hues.
Autofocus vs. Manual Focus:
- Manual Focus: Switch to manual focus mode, especially as the available light decreases. Autofocus may struggle in low-light conditions, leading to focus inaccuracies. Use live view and magnification to achieve precise manual focus.
Image Stabilization:
- Tripod Use: When using a tripod, disable image stabilization (also known as vibration reduction) on your lens or camera. Image stabilization is designed to compensate for camera shake, but when the camera is stabilized on a tripod, it can actually introduce slight vibrations.
Bracketing Exposures:
- Exposure Bracketing: For challenging lighting conditions, consider using exposure bracketing. This involves taking multiple shots at different exposure levels to ensure you capture the full range of highlights and shadows present during twilight.
Configuring your camera settings for twilight photography requires a balance between capturing changing light, maintaining image quality, and achieving your creative vision. By mastering these settings and adjusting them as the light evolves, you’ll be able to create stunning twilight images that capture the enchanting mood and atmosphere of this magical time of day.
Post-Processing Tips for Twilight Photos
Post-processing is an essential step in perfecting your twilight photos, allowing you to bring out the true magic and mood of the captured scenes. Careful editing can emphasize the delicate balance of warm and cool tones, enhance contrast, and create images that truly reflect the ethereal beauty of twilight.
Color Enhancement:
- Balance Warm and Cool Tones: Adjust the color balance to accurately represent the warm and cool tones present during twilight. Fine-tune the white balance settings to retain the unique colors and atmosphere of the scene.
- Enhance Twilight Hues: Amplify the natural colors of twilight while preserving their subtlety. Pay attention to the transition between warm hues near the horizon and cooler tones as you move toward the sky.
Contrast and Highlights:
- Enhance Dynamic Range: Adjust contrast to bring out details in both the bright and shadowed areas of your image. Emphasize the dynamic range to capture the varying light intensities present during twilight.
- Highlight Recovery: Gently recover highlights to avoid overexposure in the bright areas of the sky. This maintains the intricate details in clouds and prevents the loss of important information.
Noise Reduction:
- Low-Light Challenges: Twilight photos can exhibit noise due to shooting in low-light conditions. Apply noise reduction techniques while editing to maintain image clarity and minimize distractions caused by noise.
- Balancing Noise Reduction: Be cautious not to over-apply noise reduction, as excessive smoothing can lead to loss of detail. Balance noise reduction to retain the fine textures present in twilight scenes.
Graduated Filters and Adjustment Brushes:
- Balancing Exposure: Use graduated filters to balance the exposure between the bright sky and the darker landscape. This tool ensures that both elements are adequately exposed without compromising on detail.
- Selective Adjustments: Utilize adjustment brushes to selectively enhance specific areas of your photo. For instance, brighten the landscape while maintaining the rich colors of the sky, creating a balanced and visually appealing image.
Vibrance and Saturation:
- Enhance Natural Colors: Use the vibrance and saturation adjustments to subtly enhance the natural colors of the scene. Avoid excessive saturation, which can lead to unrealistic and oversaturated tones.
- Highlighting Twilight Hues: Target the warm and cool hues during twilight, intensifying their presence in the image without sacrificing the authentic atmosphere.
Maintain Twilight Mood:
- Subtlety is Key: While post-processing allows for creative enhancements, strive to maintain the subtlety and authenticity of twilight moments. Avoid over-processing that could result in an unnatural or overly dramatic appearance.
- Preserve Softness: Twilight scenes often have a soft and dreamy quality. Be mindful of not overly sharpening the image, as it can compromise this inherent quality.
Check for Consistency:
- Uniform Look: Ensure a consistent look and feel throughout your series of twilight photos, especially if you’re presenting them as a collection. This coherence creates a more compelling visual narrative.
- Compare Before and After Regularly compare your edited image with the original to ensure you’re enhancing its beauty while staying true to the twilight atmosphere.
By following these post-processing tips, you can elevate your twilight photos to new heights, creating images that captivate viewers and evoke the enchanting atmosphere of twilight. Remember that post-processing is a creative tool that should enhance the inherent beauty of twilight scenes while allowing your unique vision to shine through.
Conclusion
Mastering twilight photography opens the door to a realm of creative possibilities and visual wonders. The ability to capture the ephemeral beauty of twilight moments and convey their emotional impact through photographs is a rewarding pursuit for photographers of all levels. As you’ve explored the various aspects of twilight photography, from understanding the different phases of twilight to choosing the right equipment and perfecting your editing techniques, you’ve gained the tools to create captivating images that stand out.
Twilight photography offers a unique blend of warm and cool tones, intricate details in changing light, and an atmosphere that can only be experienced during this magical time of day. By embracing the challenge and experimenting with composition, camera settings, and post-processing, you can create photographs that transport viewers into the enchanting world between day and night.
Remember, each twilight scene is a canvas for your creativity. Whether you’re capturing urban cityscapes, serene landscapes, or celestial wonders, the key is to observe, learn, and adapt. As you venture out to capture twilight moments, you’ll refine your techniques, develop your eye for detail, and find your own signature style within this genre.
How much did you like Our detailed The Ultimate Guide for Mastering Twilight Photography? Review Also, please share these Blogs with your friends on social media.
Related Article –
- Road Trips Ideas | 12 Tips to Prepare Your Car for a Long Road Trip?
- 150 Best Places to Visit in the United States In 2023
- Road Trip With Kids
- How to Stay Awake While Driving Long Distances
- Audiobooks to Listen to On Your Road Trip
- How to Create an Epic Itinerary Road Trip
- Best Rental Cars For Travel Adventures
Twilight Photography FAQ’S
What are the different phases of twilight, and when is the best time for twilight photography?
Twilight is divided into civil, nautical, and astronomical phases. Each offers distinct lighting and atmospheric qualities. The best time for twilight photography depends on the effect you want to achieve; civil twilight is great for soft cityscapes, while astronomical twilight is perfect for starry skies.
What equipment is essential for twilight photography?
Essential equipment includes a camera with manual controls, wide-angle lenses, a sturdy tripod, remote shutter release, and filters like graduated neutral density and cooling filters for enhancing twilight shots.
How do I maintain sharpness in low-light conditions during twilight photography?
To maintain sharpness, use a sturdy tripod, disable image stabilization when using a tripod, and opt for a moderate aperture (f/8 to f/11) for depth of field while maintaining sharpness.
What camera settings should I use for twilight photography?
Start with a low ISO setting, a moderate aperture, and longer shutter speeds to capture the changing light. Use manual focus, and set the white balance to preserve twilight colors.
How can I enhance the magic of twilight photos during post-processing?
Enhance twilight photos by adjusting color balance, contrast, and highlights. Use noise reduction techniques for low-light conditions. Graduated filters and adjustment brushes can help balance exposure, and subtle vibrance and saturation adjustments can amplify natural colors.
Can smartphone cameras be used for twilight photography?
While smartphone cameras have limitations in low-light conditions, they can still capture impressive twilight shots with careful settings and editing. However, dedicated cameras with manual controls and larger sensors generally yield better results.
How do I capture the transition from day to night in my twilight photos?
To capture the transition, plan your composition to include elements that showcase the changing light. Use longer exposures to reveal the gradual shift in colors and atmosphere.
What's the importance of creating a captivating photo cover for a Twilight photography article?
captivating photo cover sets the tone for your article, providing readers with a glimpse into the enchanting world of twilight photography. It draws them in and generates interest in exploring your content further.
How do I create a sense of mood and atmosphere in my twilight photos?
To create mood, focus on capturing the interplay of warm and cool tones, the delicate transition of light, and the unique details of twilight scenes. Thoughtful composition and post-processing techniques can enhance the atmospheric qualities of your images.

Meet David Hoper, a passionate travel Blog writer with 7+ years of experience in travel content. Through his exemplary storytelling and engaging narratives, he shares his experiences and brings destinations to life. With a keen eye for detail and a love for exploration, he has cultivated a diverse portfolio of travel blogs that inspire and inform readers worldwide.


